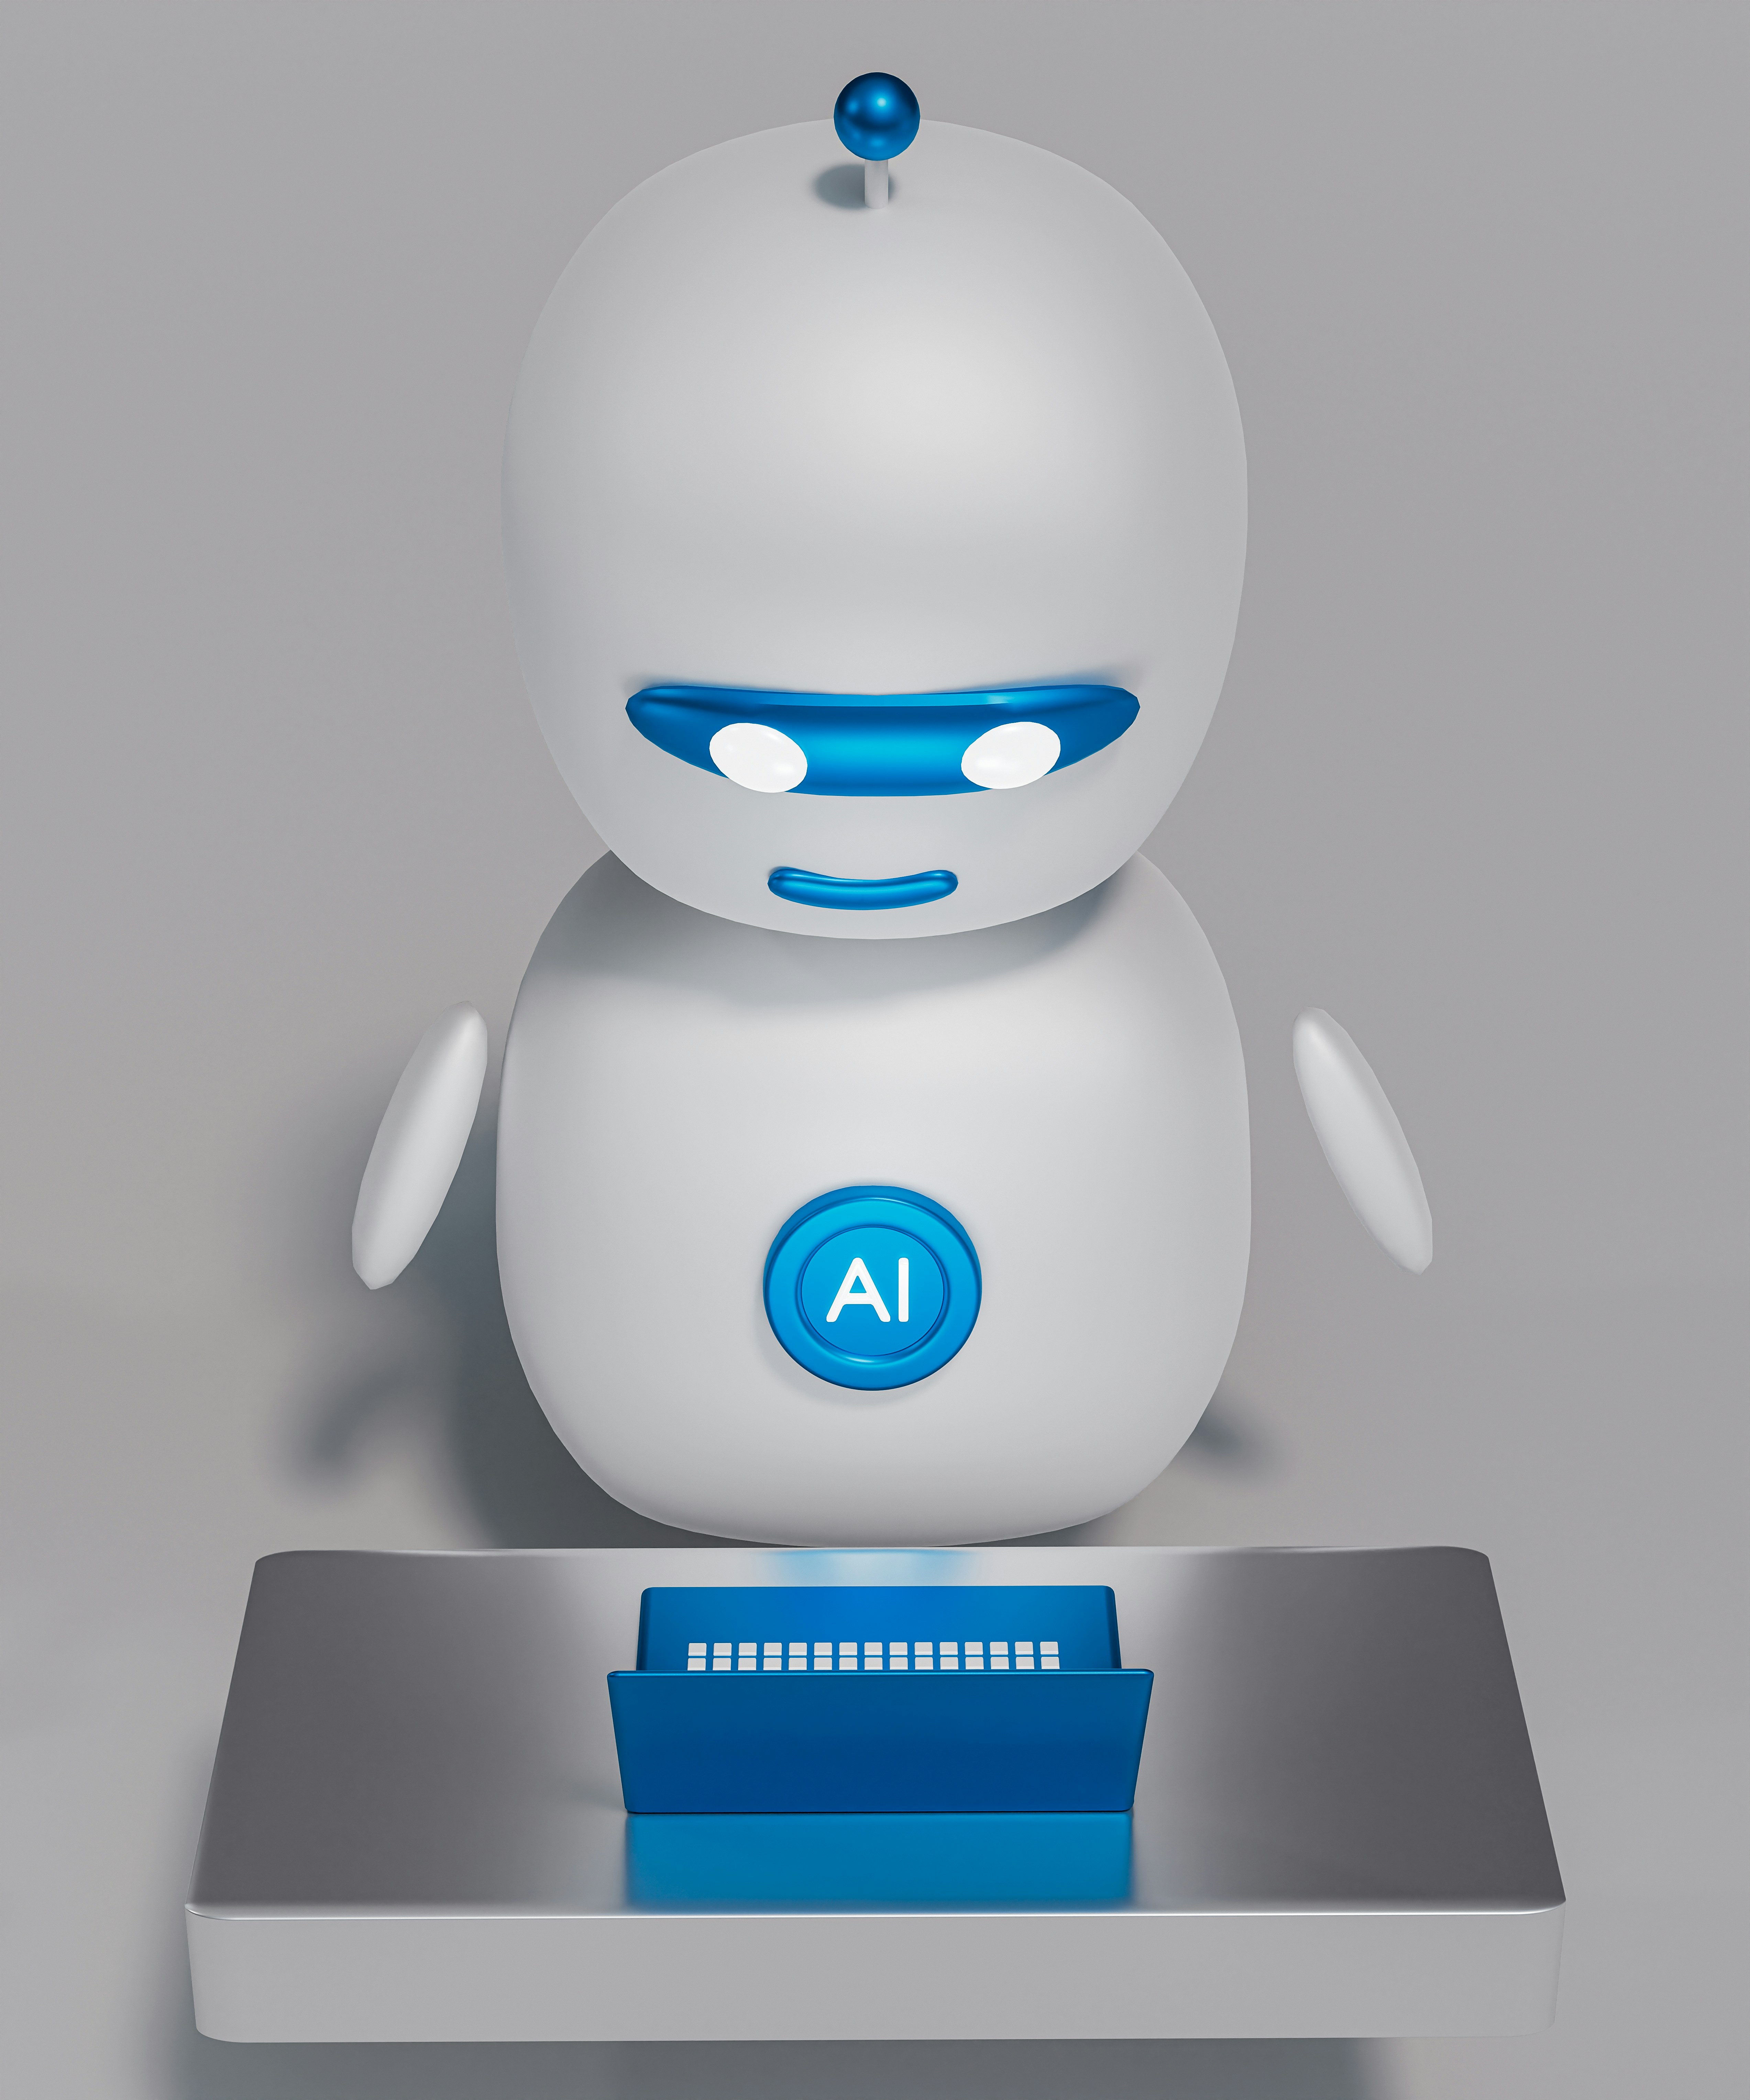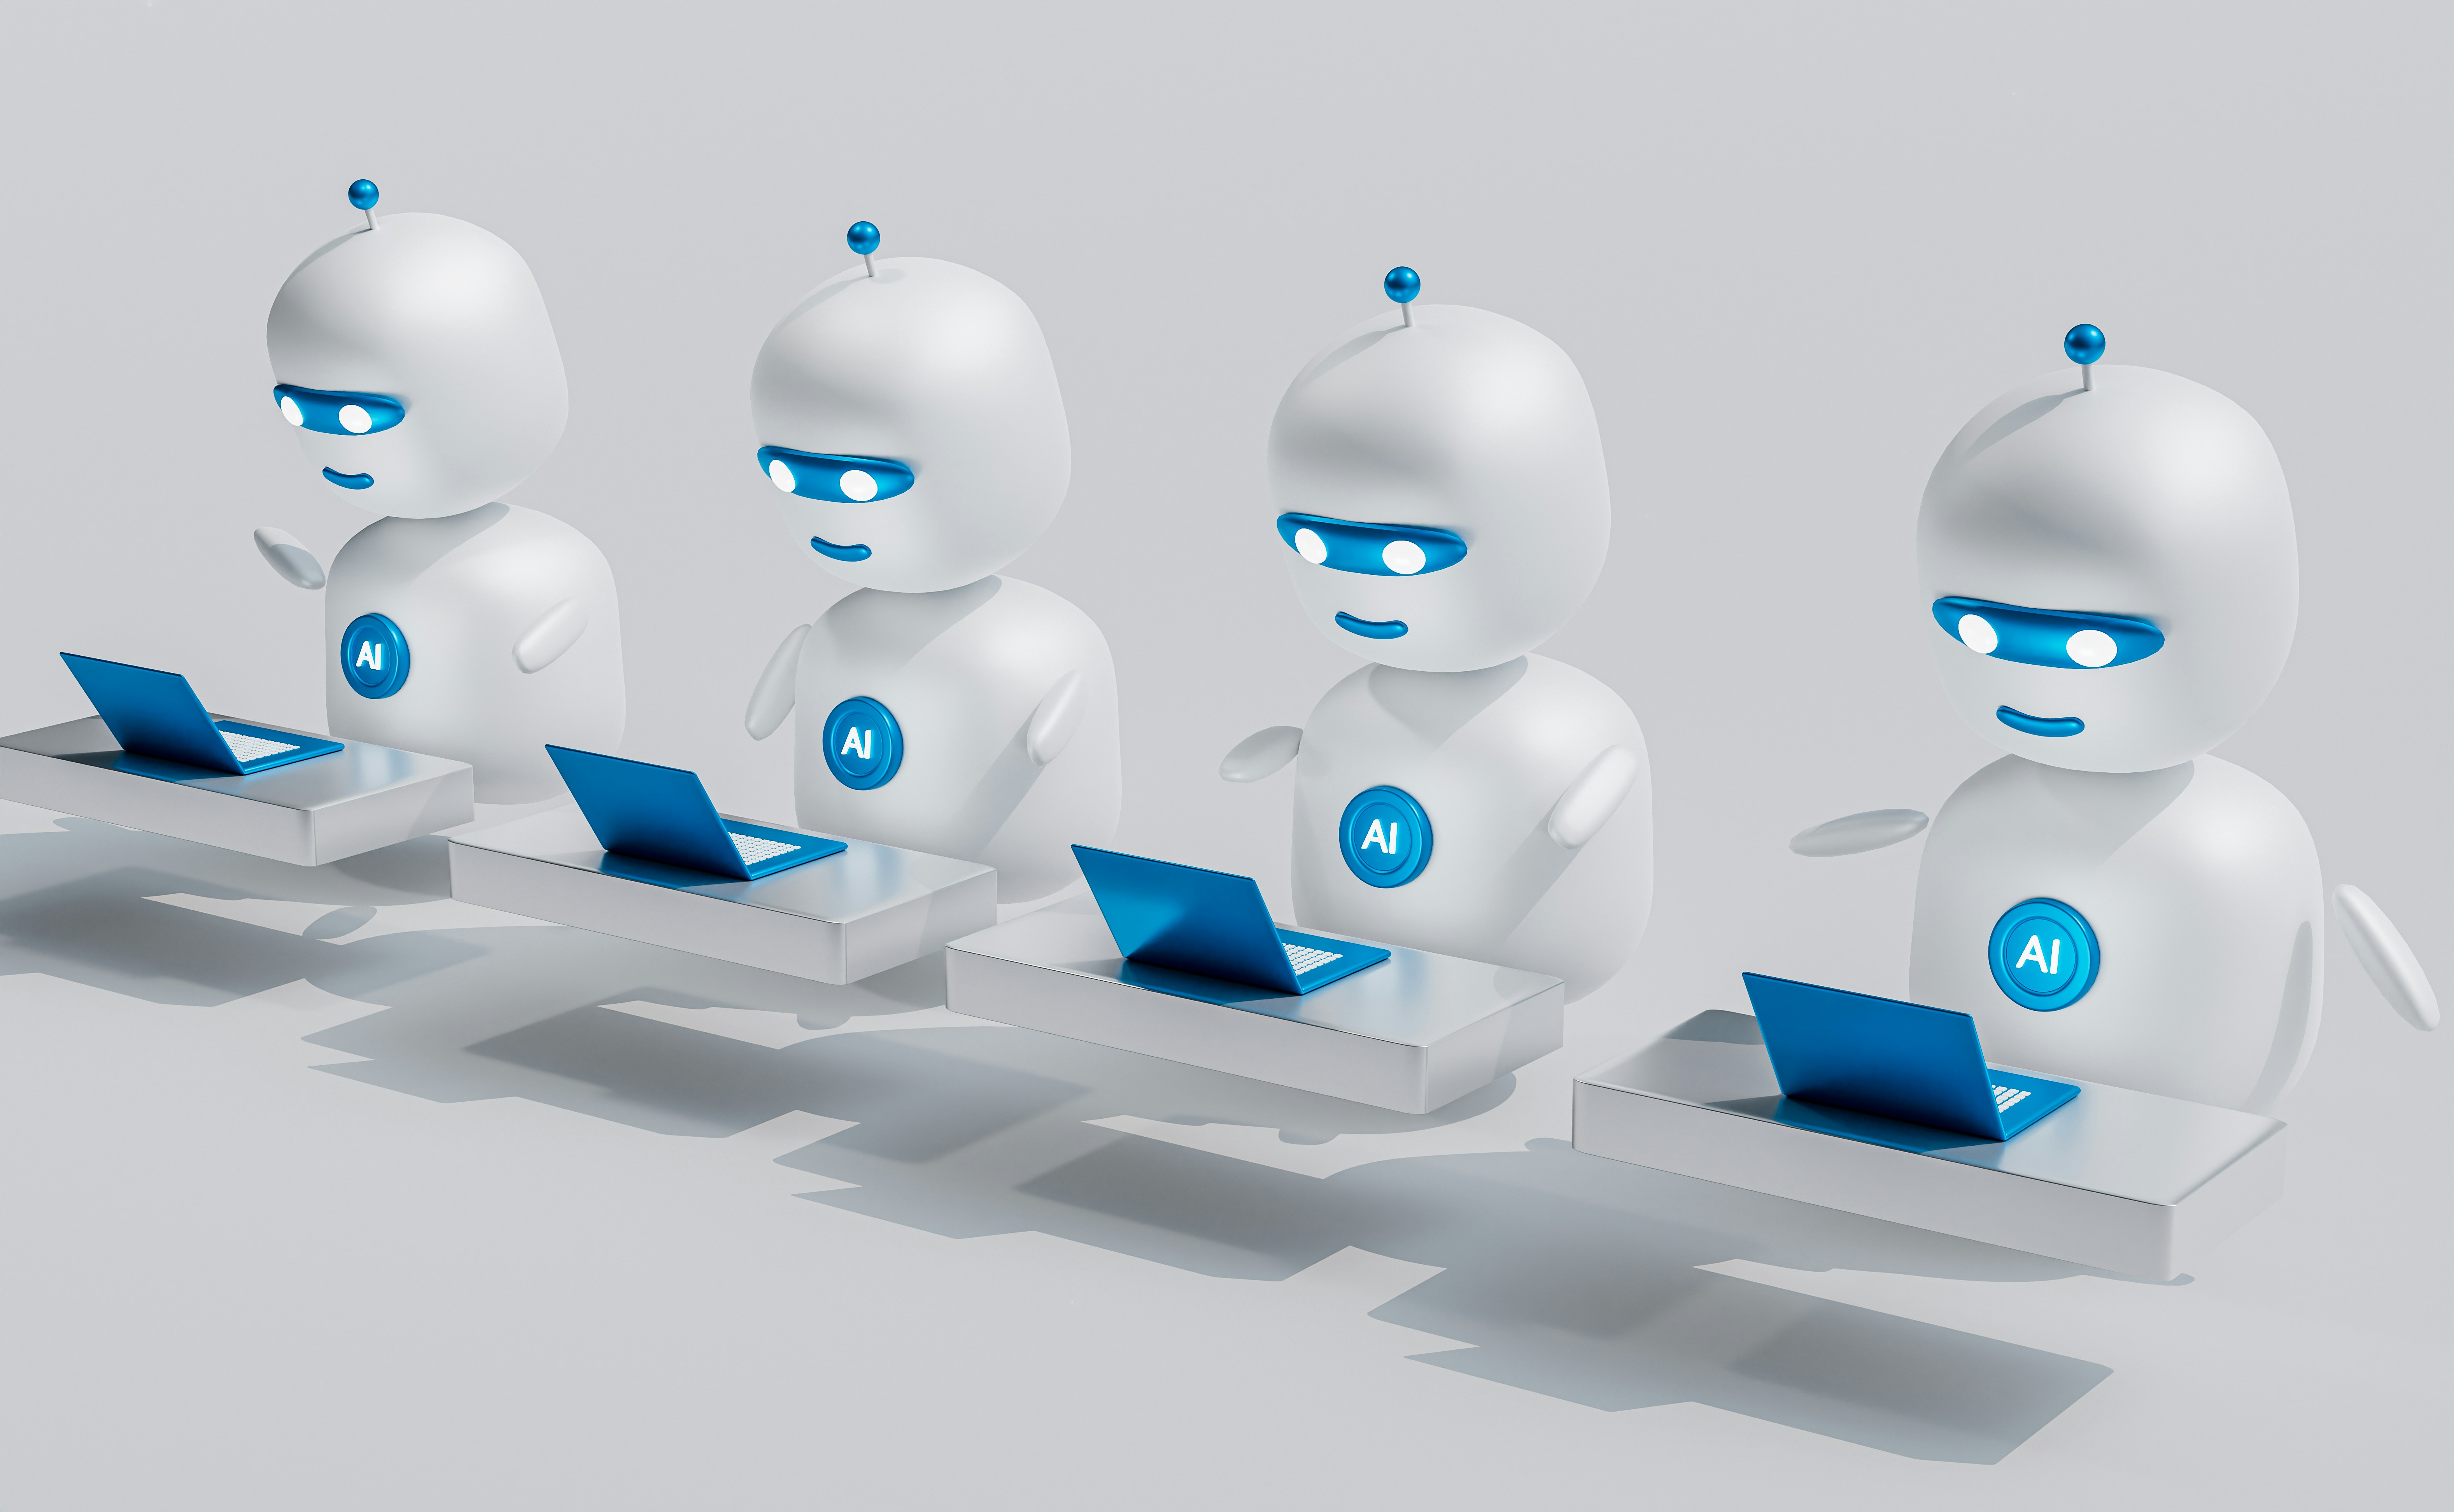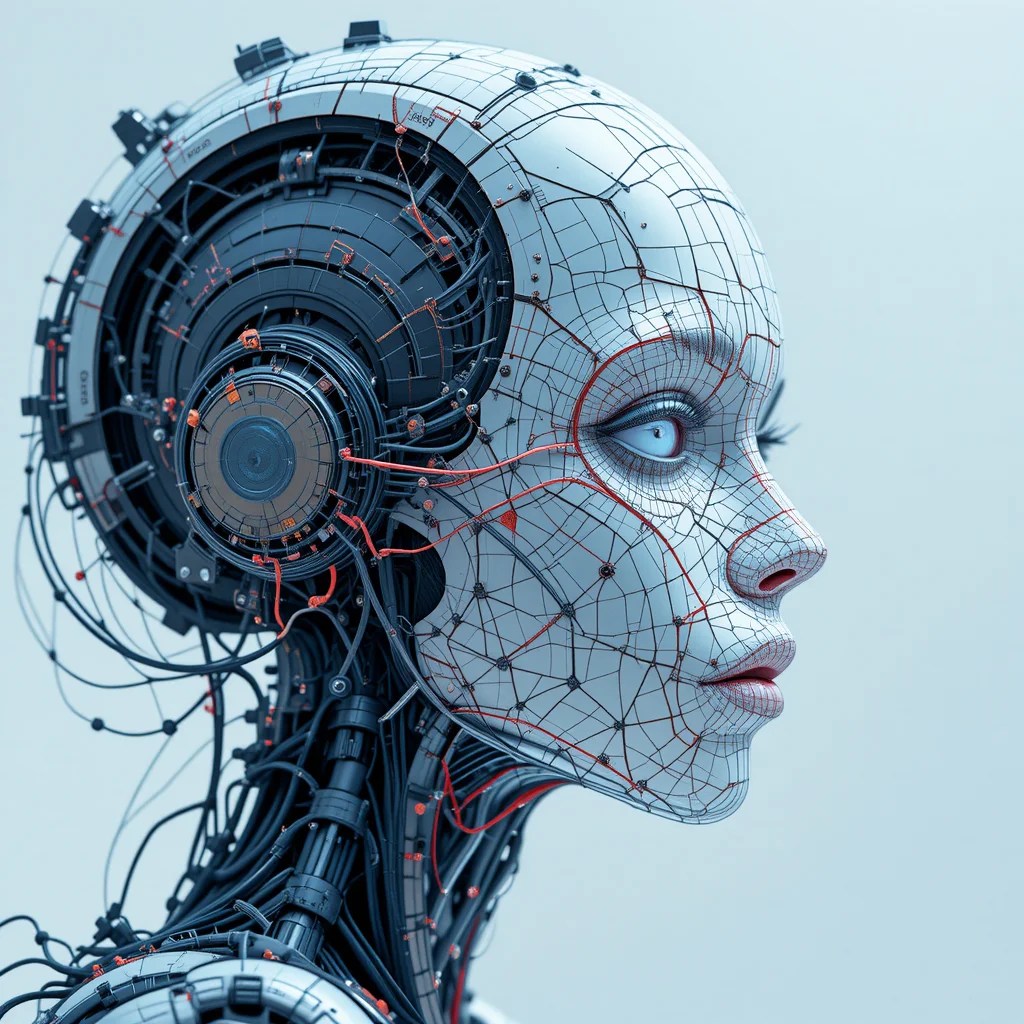
To correctly create AI-generated images, follow these clear steps depending on your goals and tools you want to use:
🔹 Step-by-Step Guide to Create AI-Generated Images
✅ 1. Choose the Right Tool or Platform
Here are some popular AI image generators:
- DALL·E (by OpenAI) – [Integrated in ChatGPT Plus]
- Midjourney – via Discord
- Stable Diffusion – through sites like Mage.space, Hugging Face
- Adobe Firefly
- Canva AI or Microsoft Designer – beginner-friendly
✅ 2. Write a Strong Prompt
Your prompt tells the AI what image to create. Include:
- Main subject (e.g., “a futuristic city”)
- Style (e.g., “cyberpunk, digital painting”)
- Lighting/Color (e.g., “neon lights, night time”)
- Background/Details (e.g., “flying cars, glowing signs”)
📌 Example Prompt:
“A cyberpunk city at night, glowing neon signs, flying cars in the sky, digital art style, high detail”
✅ 3. Generate the Image
- Enter the prompt in the tool
- Choose image size or style if needed
- Wait for it to generate (usually takes seconds)
✅ 4. Refine if Needed
- If the result isn’t perfect, tweak the prompt
- Add more details
- Change art style
- Use negative prompts (e.g., “no text, no blur”) in tools that support it
✅ 5. Download or Edit
- Once satisfied, download the image
- You can further edit it using Canva, Photoshop, or Fotor
⚠️ Bonus Tips for Accuracy & Quality
- Use specific adjectives: (e.g., “realistic”, “minimalist”, “3D render”)
- Add camera effects: (e.g., “depth of field”, “bokeh blur”, “wide-angle lens”)
- For portraits: “8k resolution, sharp focus, soft lighting”